Showing posts with label how to. Show all posts

Monday, February 20, 2012

Nautical Birthday Treats

Seriously..How cute are these?! Did I mention ridiculously easy to make. This is one of those times when I think" Why didn't I think of that?!"
The info & picture were found at Matha Stewart.com (Suprised?? I think not)

Here's the info for her Sugary Ships
Sugary ships set sail for party guests whose names are rubber-stamped on them. Guiding each is a foil-wrapped chocolate fish. Use a knife to cut cooled crisp-rice-cereal mixture into almond shapes. Hoist the paper sails onto wooden-skewer masts (cut points off).

You can easily make these without the stamps and skewers. Markers or a printer would work. As well as using lollipop sticks & glue or tape.

Wednesday, February 1, 2012

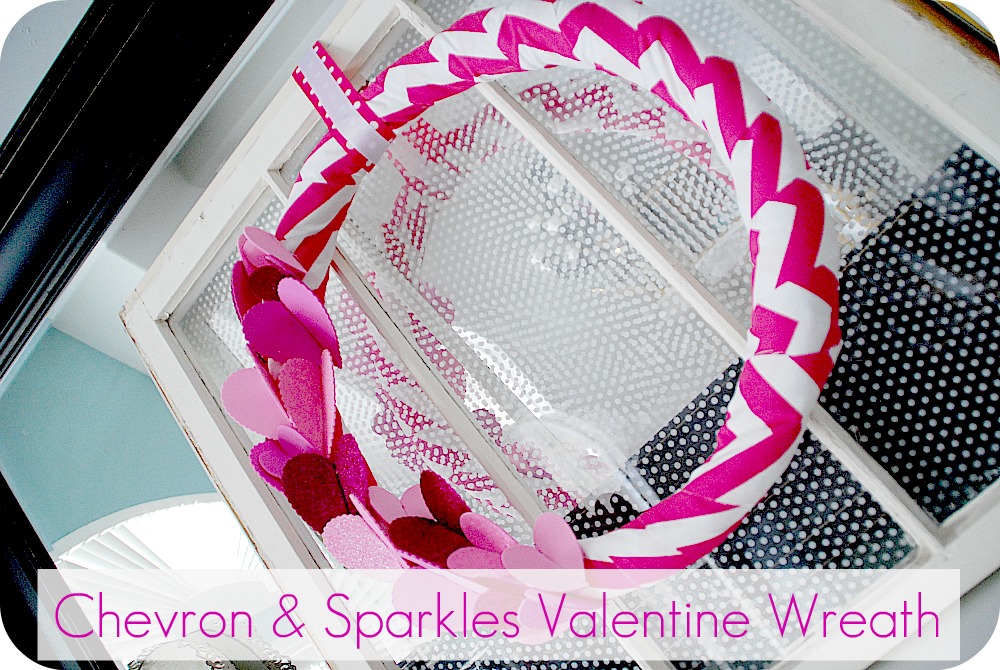
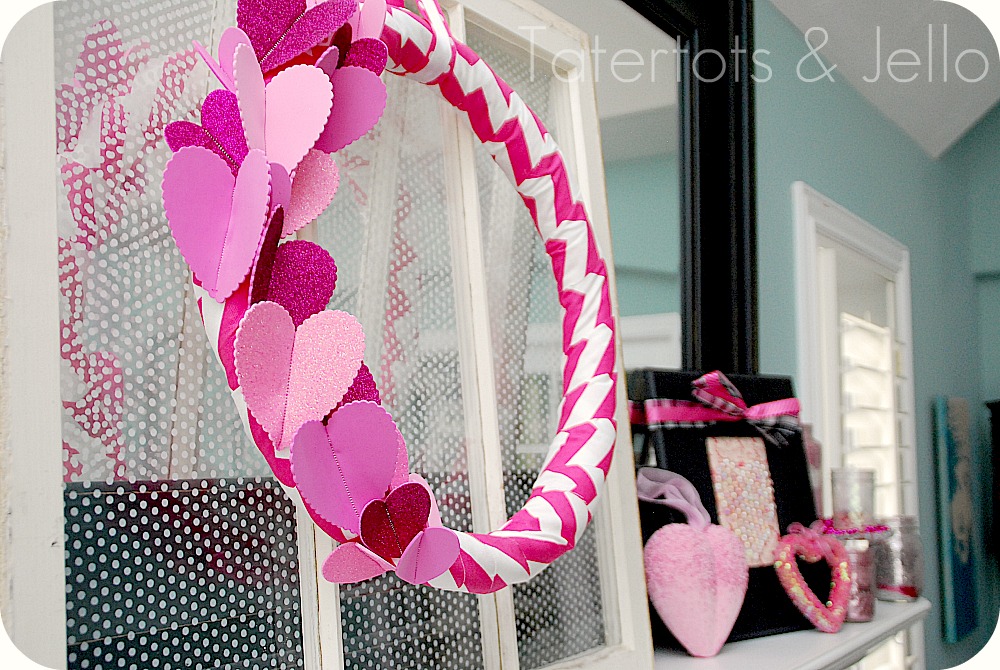
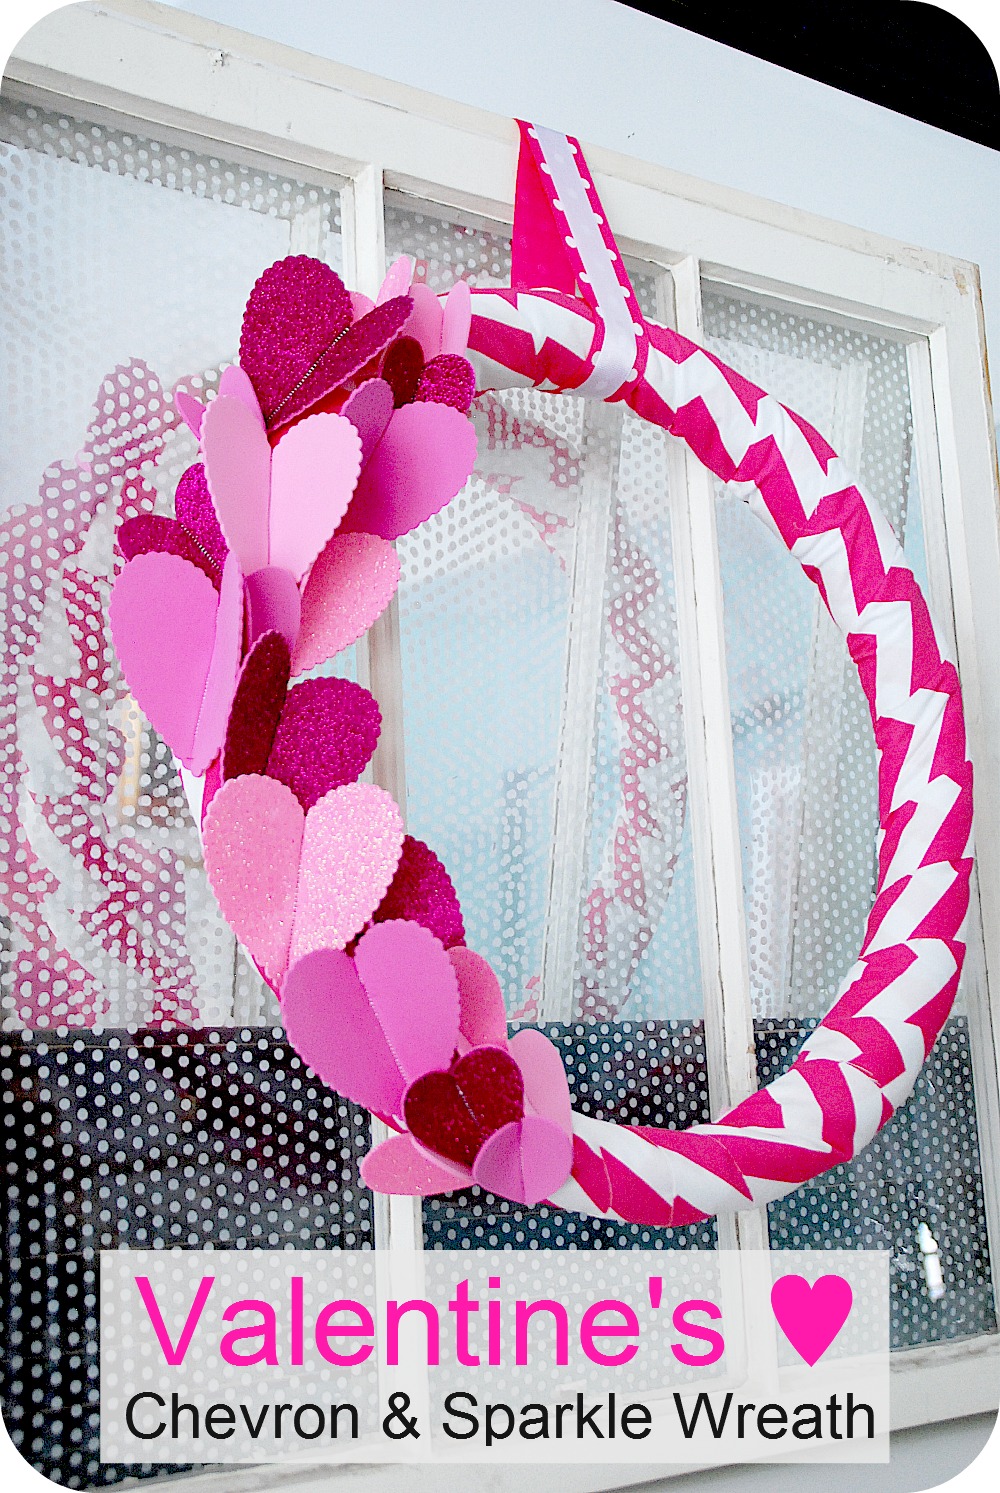
Hot PInk Chevron Valentines Day Wreath {Tutorial}

I can not even believe how talented this lady is! This wreath was made by Jen over at Tatertots & Jello.  I love the Chevron fabric. You have to take a look at her blog. She has been doing this for a while & you can tell. She has great ideas & easy to follow instructions.


Here are Jen's beautiful decorations & how to instrucitons in her own words :)
Great Job Jen!


I love making wreaths!! Maybe it’s a sickness. But each year I want to make a new wreath for each holiday. And Valentine’s Day ♥ is becoming one of my favorite holidays to decorate for.
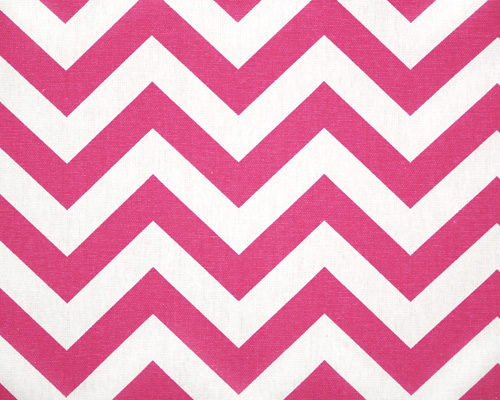
In the fall I went crazy one night and ordered every single color of chevron I could find. And one of my favorite ones was the Hot Pink Chevron

To make this wreath:


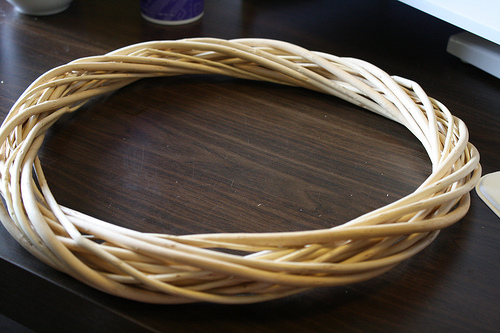
I started off with a Dollar Store Wreath
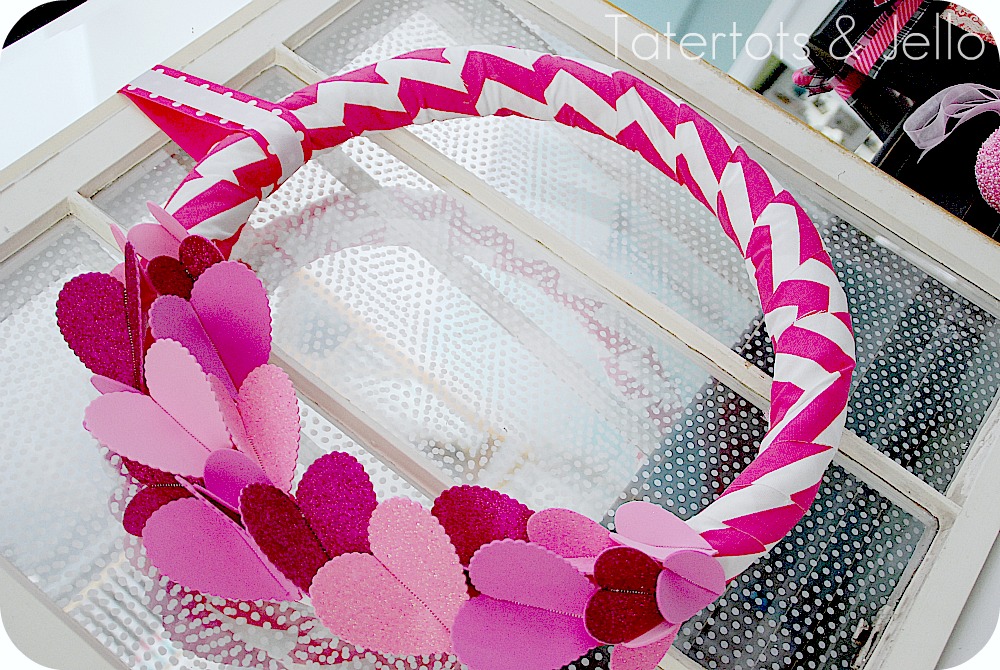
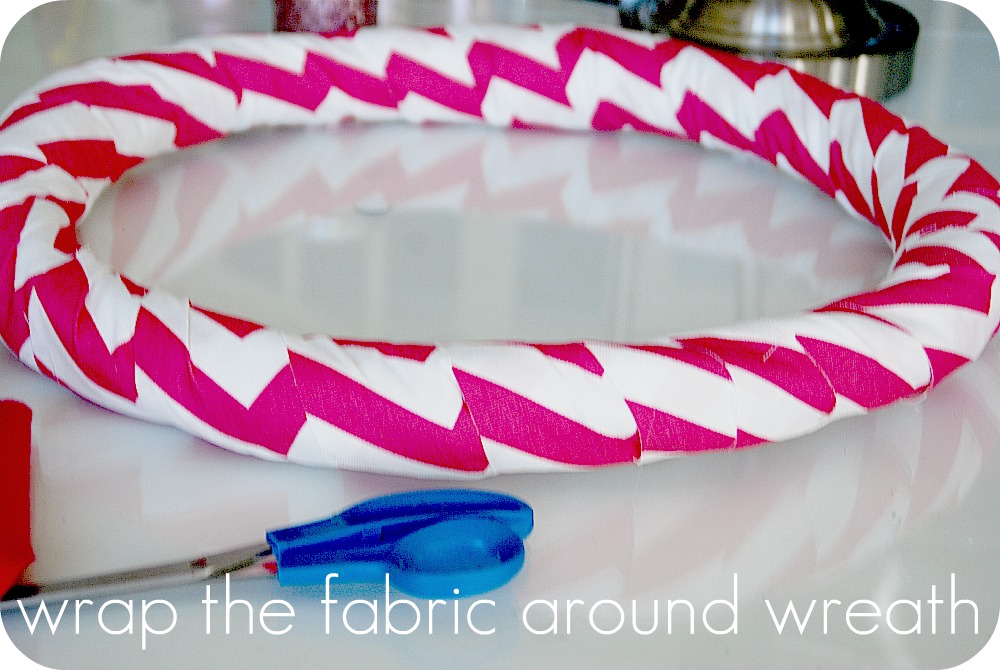
Then I wrapped some quilt batting around the form. And cut a 3-inch wide strip of chevron fabric and wrapped it around the wreath form.
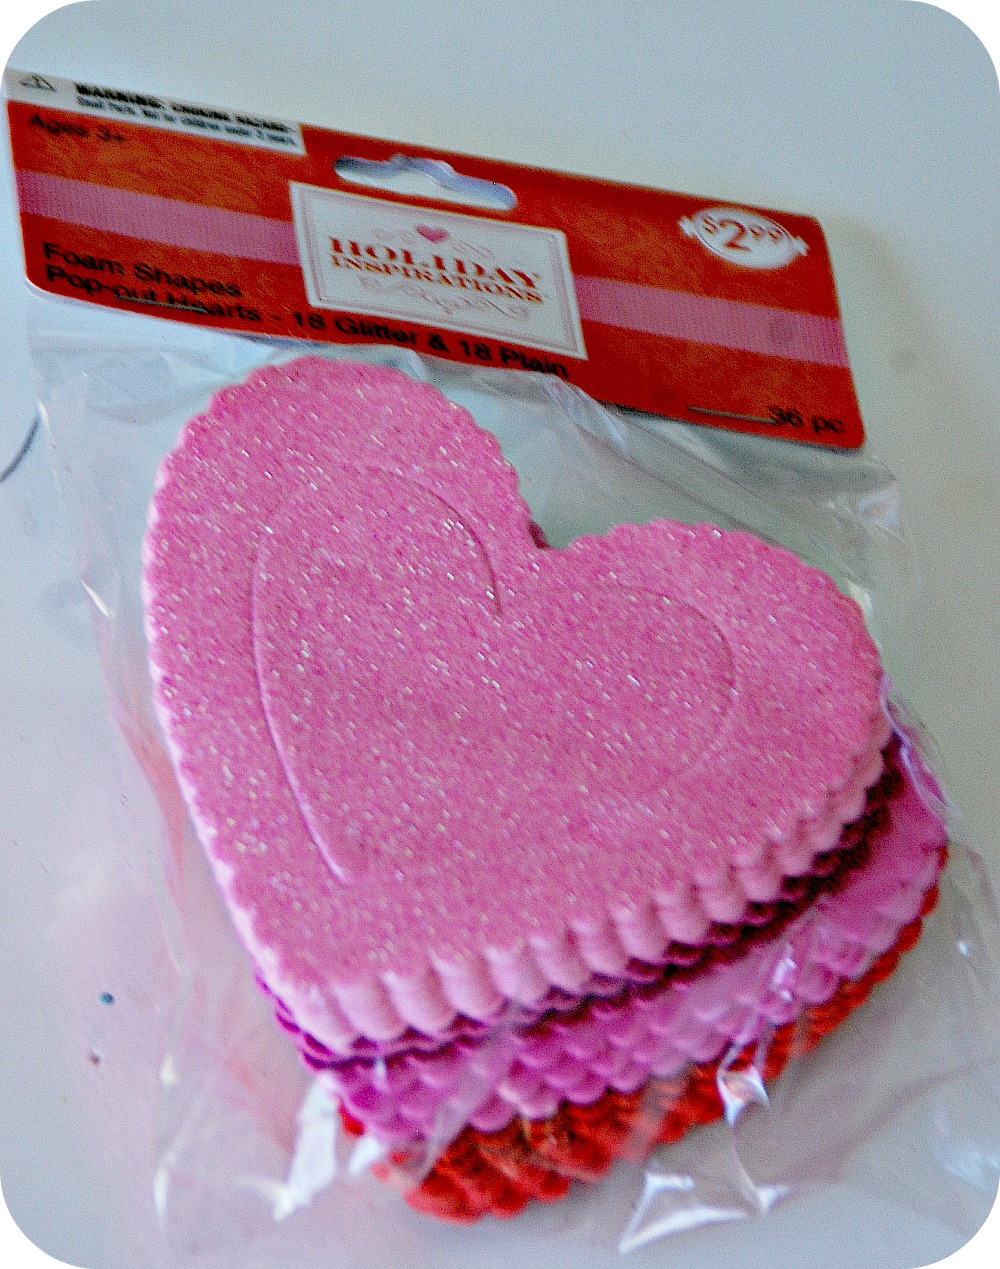
Then I took one of those foam packages of hearts — they are about $2 at your craft store.
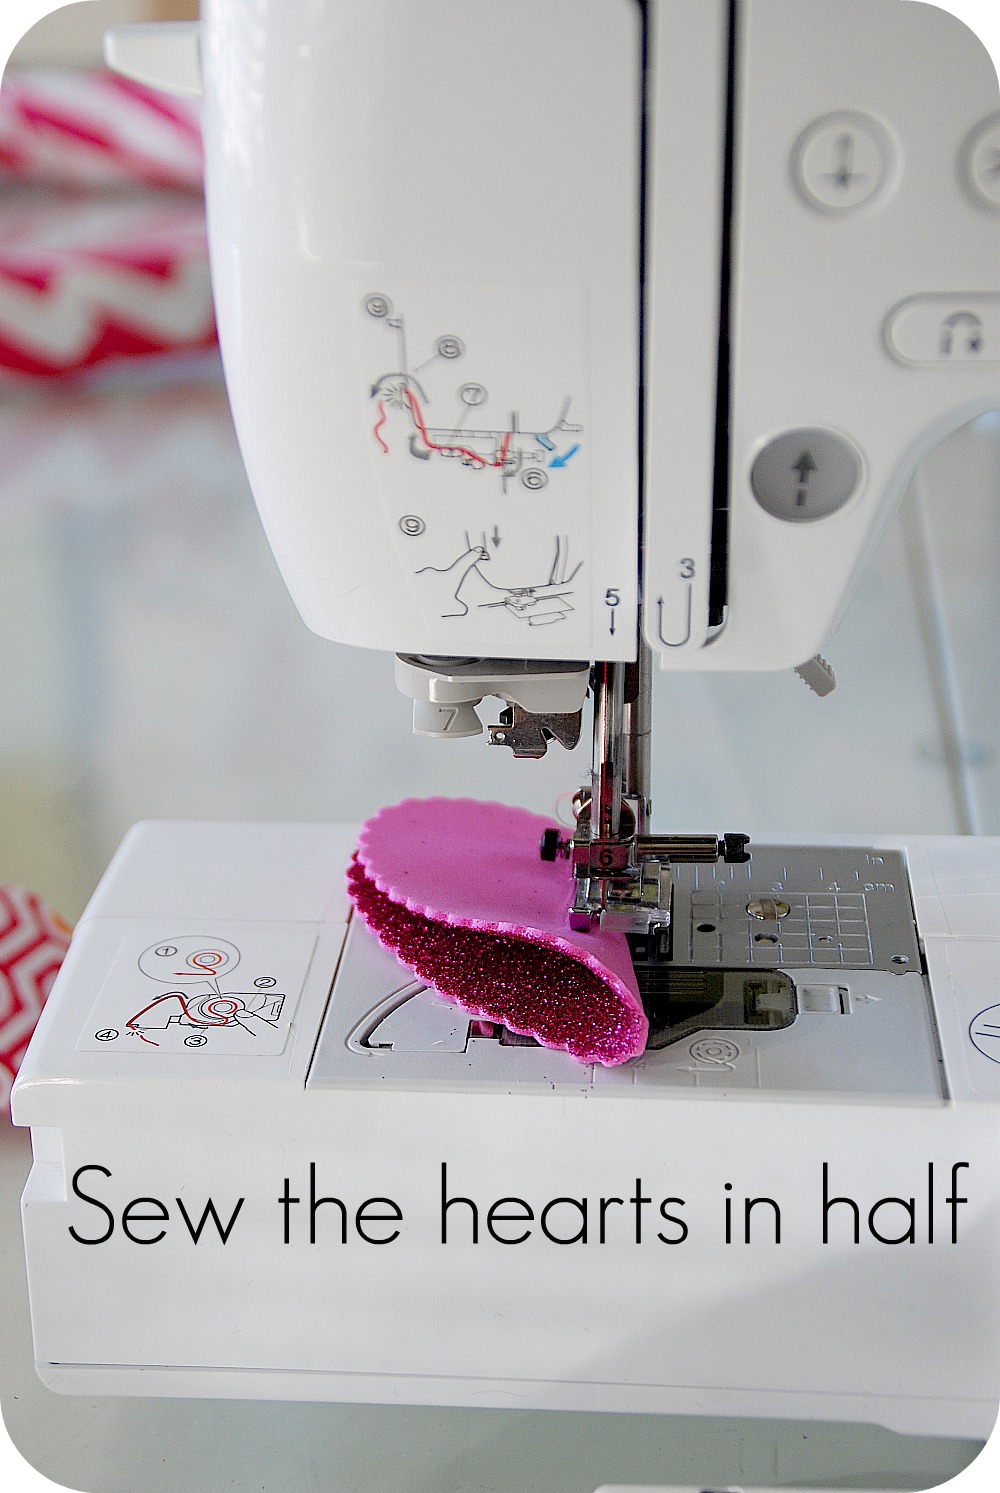
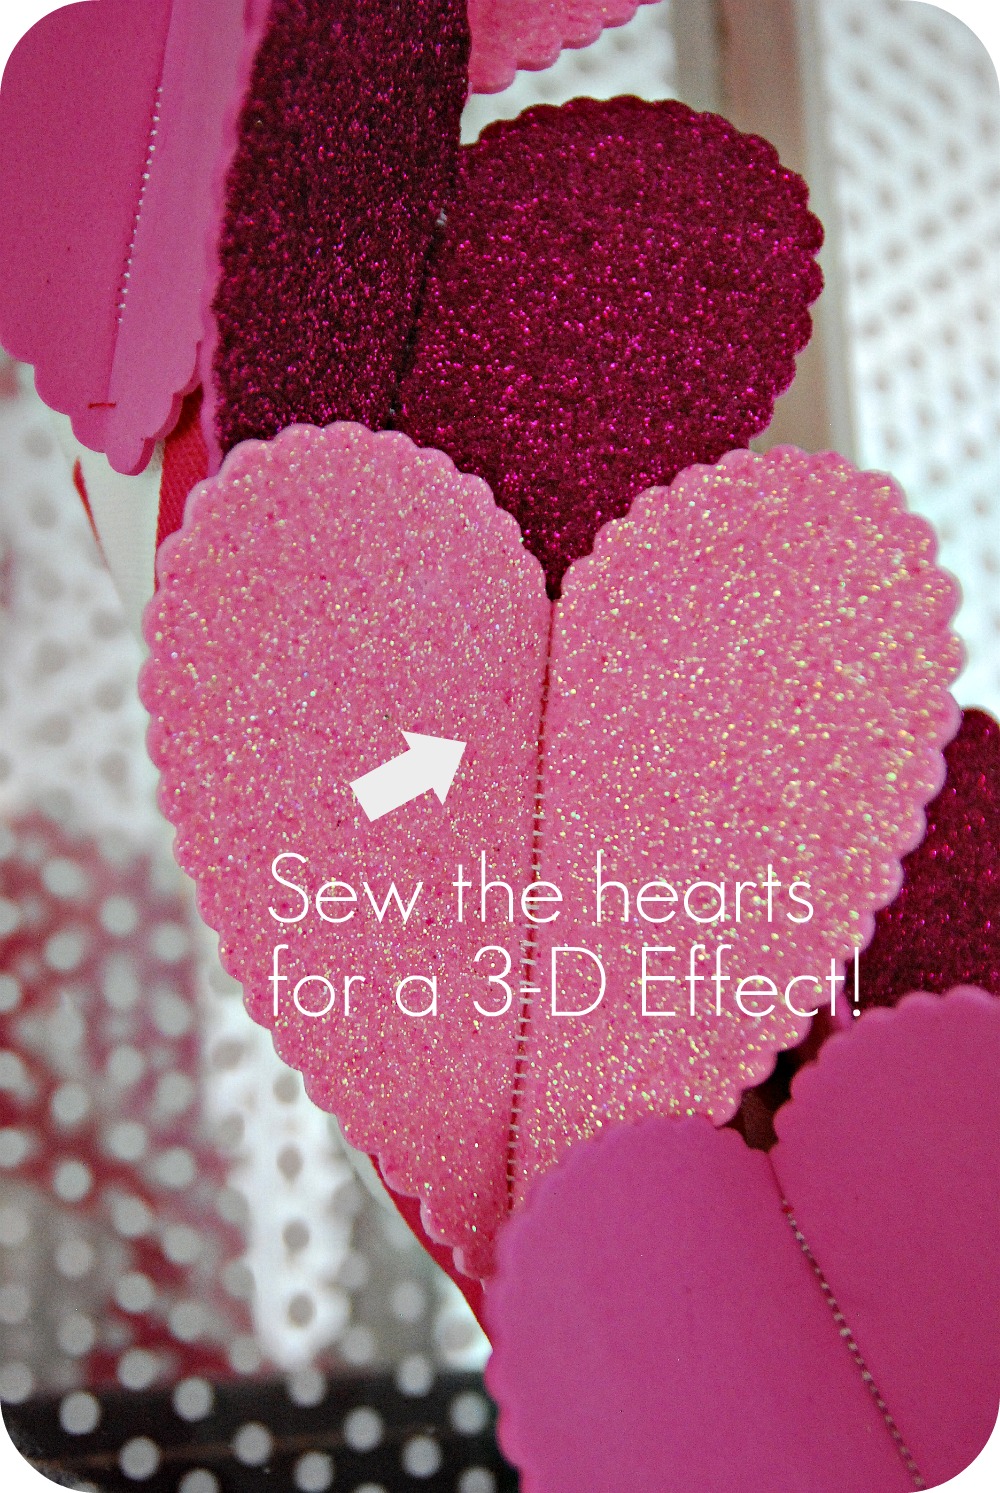
I bought two different sizes of the hearts – one small and the other a little bigger. Then to make them 3-D I folded them a little bigger and sewed them.
Then I glued them on the wreath. I started with the big hearts and then filled in with the smaller ones.
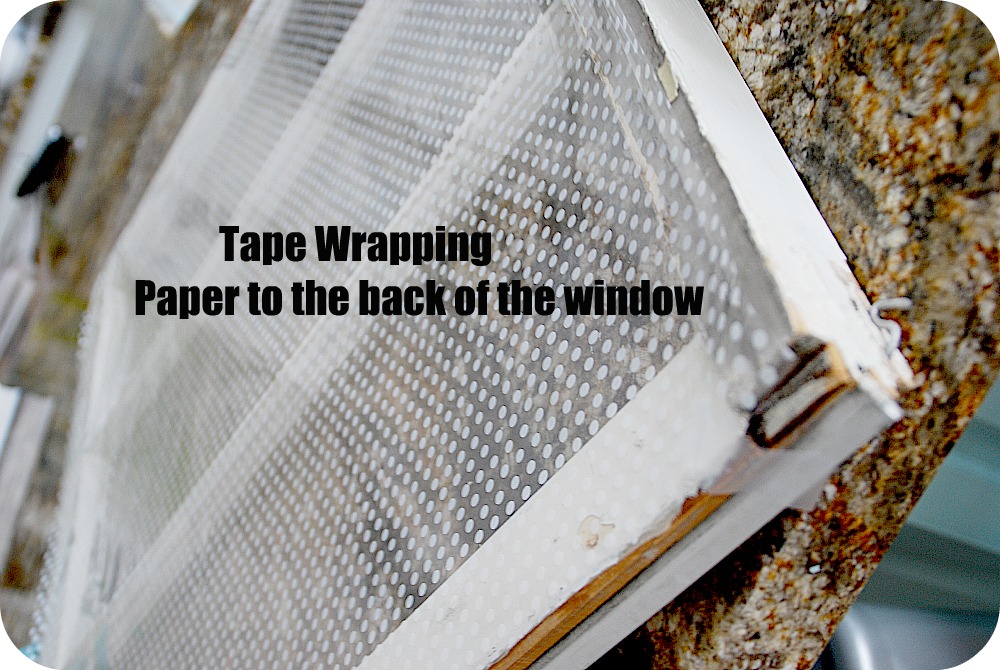
Then I took an old window that I had and taped some polka-dotted cellophane to the back.
You could also add some colored paper to the back. Or even some doilies or fabric for color.
It’s a really easy and fun wreath for the ♥♥♥ Holiday!

Monday, December 5, 2011

How to make Ruffled Wreath


Found this today at Dixie Delights. It looks like it requires a little patience. But with a price tag of seven dollars (per wreath) it is soooooooo totally worth it!

For each wreath you'll need:
14" foam wreath
400 1-4 cup coffee filters
hot glue
1. Wrap the wreath by spreading out coffee filters and hot gluing to attach.
2. I then separated about 50 filters in a big pile.  You want to fold the filter in fourths.  So, fold in half once and then in half again.  You'll want to pinch the bottom of the fold tightly but leave the ruffled part loose and ruffled.
3.  Apply hot glue to the point of the folded filter. 
4.  Attach the filter to the wreath.  I essentially covered all parts of the wreath that were seen when it's laying flat.  I figured having a flat back would make it much easier to hang.  Place them close together on the wreath.
5.  Repeat, making your way around the wreath until covered!  I used nearly all 400 filters on one wreath.
6.  I looped a wide, satin ribbon around the wreath and hung from the top of my living room bookcase with a strong staple gun staple.  Here's the finished back and finished front!

Thursday, December 1, 2011

Sparkling Christmas Tree Cakes

I was looking up some holiday recipes & found this at kraft foods.com. These are so cute & look super simple to make. Especially for the domestically challenged like me :)


You can find the step by step video here.

What You Need

1 pkg. (2-layer size) yellow cake mix
1/4 tsp.  green food coloring
1 pkg. (8 oz.) PHILADELPHIA Cream Cheese, softened
1 cup  powdered sugar
1-1/2 cups thawed COOL WHIP Whipped Topping
16   peppermint sticks (3 inch)
1/2 cup BAKER'S ANGEL FLAKE Coconut
2 squares  BAKER'S Semi-Sweet Chocolate, chopped
1/4 cup PLANTERS Dry Roasted Peanuts, chopped
  Assorted Christmas candy
Colored sugar

Make It

HEAT oven to 350°F.
PREPARE cake batter as directed on package; tint with food coloring. Pour evenly into 2 greased and floured 9-inch round pans.
BAKE as directed on package. Cool in pans 10 min.; remove to wire racks. Cool completely.
BEAT cream cheese and powdered sugar with mixer until well blended. Stir in COOL WHIP with whisk. Spread onto tops and sides of cakes.
CUT each cake into 8 wedges to resemble Christmas trees. Insert peppermint stick into curved side of each cake for the tree trunk. Decorate with remaining ingredients.

Kraft Kitchens Tips

Size-Wise
With their built-in portion control, these cakes make great holiday treats!

Saturday, November 26, 2011

Paper Straw Christmas Wreath part one

I saw a picture of a Paper straw Christmas wreath on the newest issues of Womans Day.

 I was planning on coming home & making one, but decided to google it first. The lady over at Tatertots & Jello, apparently had the same idea. I figured that while I am creating mine, I would share hers with you. This way you can get a head start on yours. Here are the directions that she followed, I will be following up with mine soon!


Supplies
  • Dollar store Foam Wreath (is what I used)
  • Ribbon to wrap around the outside of the wreath
  • Striped Straws (I used about 75 straws – it will depend on how wide your wreath is)
  • Hot glue and glue gun
  • Ribbon for a Bow

Here’s what  she did:

  • 1. I wrapped the wreath with some wide ribbon, overlapping and hot glued the ends down.
  • 2. Then I trimmed half of the straws — 1/3 off the ends with scissors.
  • 3. I hot glued each straw on, alternating between the long and shorter straws. I held each straw parallel to the wreath so they laid flat and uniform.
  • 4. I tied a bow and hot glued it onto the wreath and added a little glittered snowflake.
  • 5. To hang up the wreath, I hot glued a little piece of twine on the back of the wreath, making a little loop.