Showing posts with label party. Show all posts

Tuesday, December 13, 2011

Red & Green Penguin Christmas

This is too cute not to post! I love the details of this party. Right down to the candy canes & paper cone wreaths! I found this at Hostess with the mostess  There are lots of party ideas, inspirations & even where to buy them. Scroll thru for full credits :)


Get ready for a major dose of MERRY with this adorable and oh-so “Chilly & CheeryPenguin Holiday Party from Paula of Frog Prince Paperie. Her daughter begged for a Christmas party this year… and boy did mom deliver! I’m loving all the DIY elements, including the beautiful paper ornaments & trees, spectacular paper cone wreaths, and cute ribbon-rosette-adorned aprons, just to name a few. This has to be one of the cutest kids holiday parties ever… the darling penguin just melts my heart!
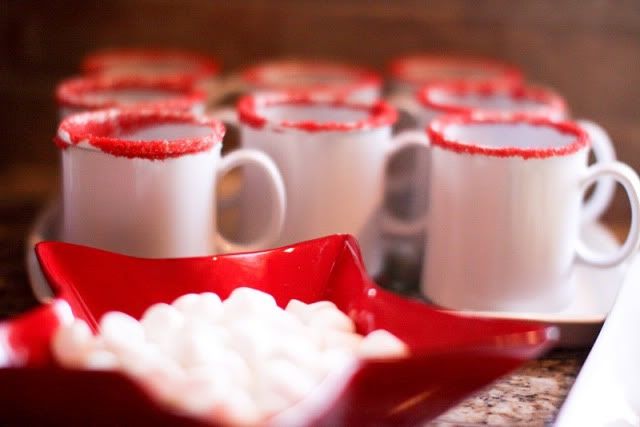
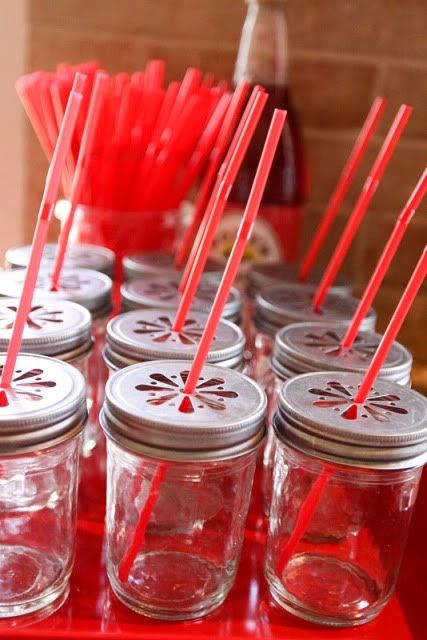
Some of my favorite “sweet” details include the milk shooters rimmed with chocolate sprinkles, the incredibly detailed penguin cookies, the chocolate-dipped marshmallow “snow cones”, and the cutest little fondant penguin cupcake toppers. Also loving all the festive activities for guests – including “playing in the snow(what a great way to recycle all of your packing peanuts) and crafting sparkly ornaments (with glitter INSIDE – much cleaner if you ask me!). And of course we can’t forget about all the adorable penguin paper details, which are available in the Frog Prince Paperie etsy shop!
Add caption

Keep reading for lots more CHEERFUL photos + party details…


*****

PARTY DETAILS, as told by Paula. . .

::
“My daughter begged for a Christmas party this year—lucky for her it doesn’t take much excuse for me to start designing an event! It was a fun experience planning this party; Maddie was there every step giving her input on what games to play, what food we should eat and what we should drink and give out as favors.
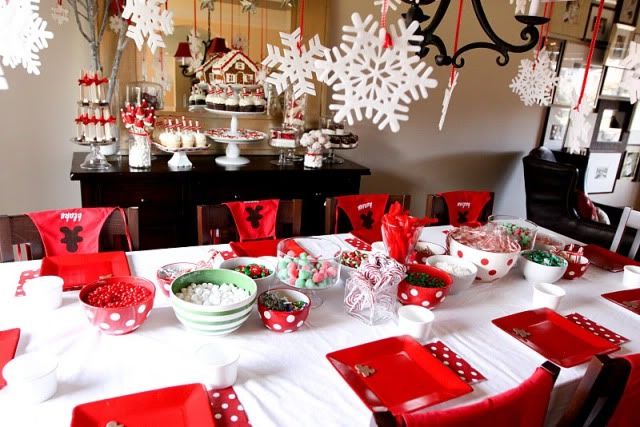
The front rooms of the house were decked out for the party in red and green with a “Chilly & Cheery” penguin theme.  I handmade virtually everything in this party from the paper ornament, ribbon rosettes on the aprons, paper trees on the tables and wreaths.  These were all great touches that anyone can pull off with a little effort.
We had a table full of fruits and vegetables for the kids, and a small sweets table. Edible Details sent the cutest little fondant penguin toppers for our cupcakes that the girls later put in front of their gingerbread houses. Renee of Bees Knees Creative sent some adorable (and delicious!) sugar cookies that perfectly matched our little penguin graphics.
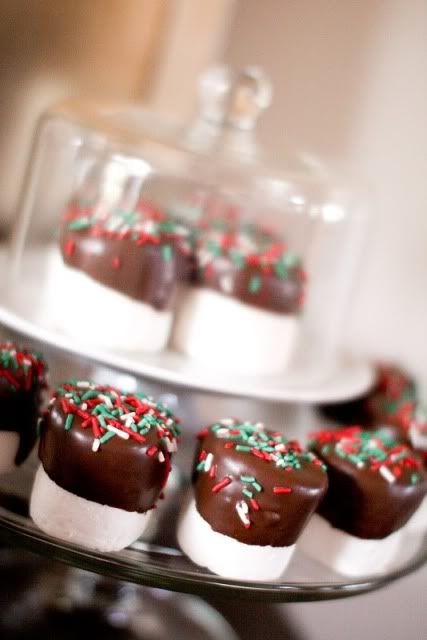
Other items on the table were peppermint fudge covered oreos, divinity (a favorite southern candy), white chocolate drizzled popcorn with m&ms, and chocolate cookie dough truffles. The favorite on the table were the “snow cones.” I dipped a large marshmallow in candy melt, rolled it in coconut and then placed it on a tiny ice cream cone and topped it off with a red m&m. Easy and fabulously fun!
On the main table, I created a little forest of trees. I made them using party hats and dowel rods! They were the perfect whimsical touch to our handmade party.
As our little guests arrived, we had them sit and do a craft to give them something to do while we waited for everyone to show up. Using some fine glitter from Martha Stewart, glass bulbs and special glue, we made some tree-worthy glittery ornaments.
Some of the other activities we did during the party:
Play in the “snow” – This was such a crowd pleaser at Halloween, there was a request for a repeat! I filled a box full of Styrofoam peanuts and hid small toys and hair things in the bottom of the box. The kids had to dive mostly in the box to find them!
Wrap a gift – Two teams of three, all armed with a roll of toilet paper, race to wrap up a precious gift, a mommy.
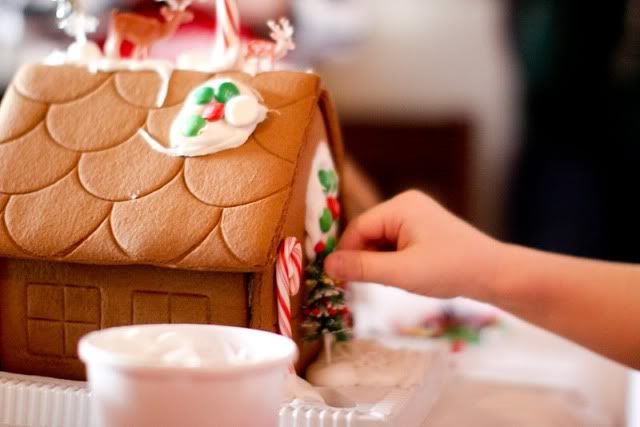
Gingerbread house decorating – We used the tutorial by Nicole at Tradewind Tiaras. This gingerbread recipe was really fantastic, and making the houses as a-frames made them go together in a snap. Each girl had her own frosting bag full of royal icing and an apron made especially for her as she decorated her masterpiece.
Yankee gift exchange – Pick a present or steal a present as your number is called.
The party ran late because the girls were having so much fun… which I took as a huge compliment! The penguin printables we used in our party are now available in our Etsy shop.”
*****

VENDOR CREDITS:

– Photography and Styling: Paula Biggs at Frog Price Paperie
– Paperie: Renee Adler for Frog Price Paperie
– Fondant Cupcake Toppers: Edible Details
– Sugar Cookies:  Bees Knees Creative

Thursday, December 8, 2011

Free Justin Beiber birthday invitation

Free Justin Beiber Birthday Invitation. Just download  here & print!

These are 4x6. For best results, have them printed at your local photolab.

Sunday, December 4, 2011

North Pole GingerBread house Party

I've been spending a lot of time looking for inspiration for the class Holiday Party. Not allowing candy & homemade items in school is making it difficult.
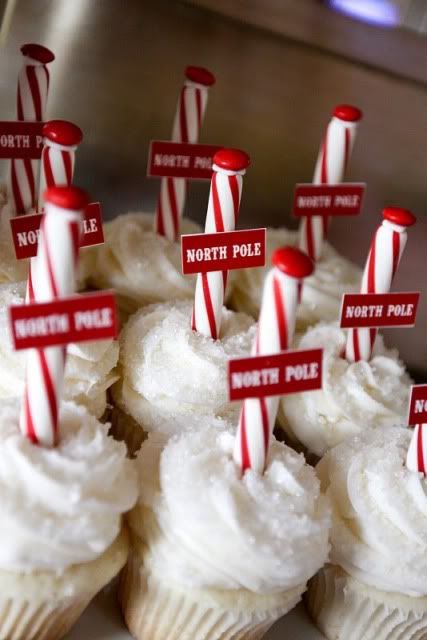
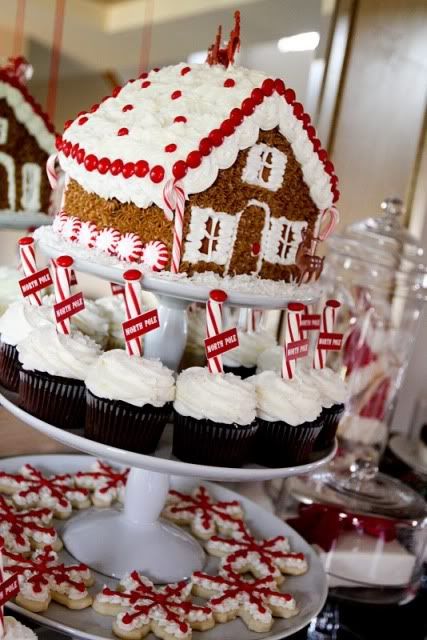
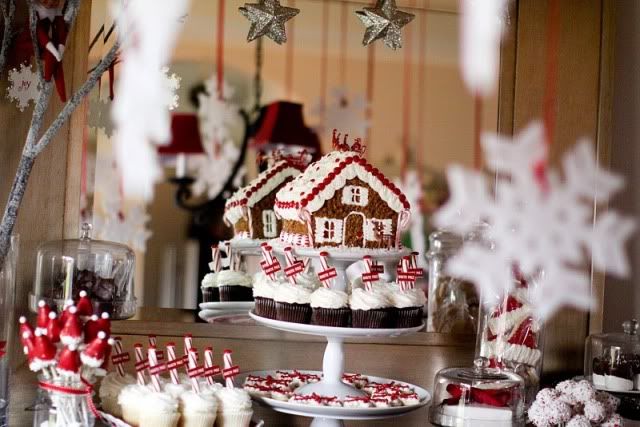
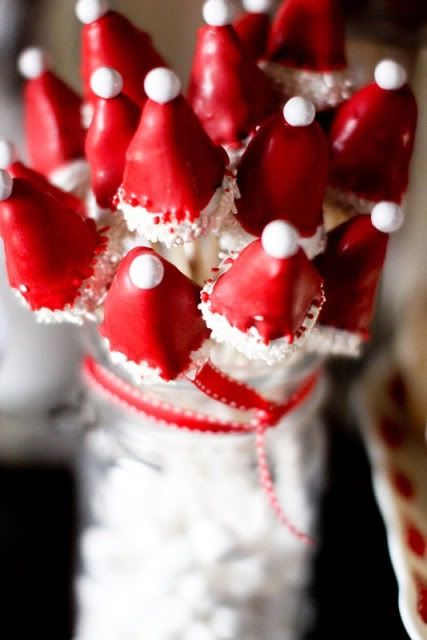
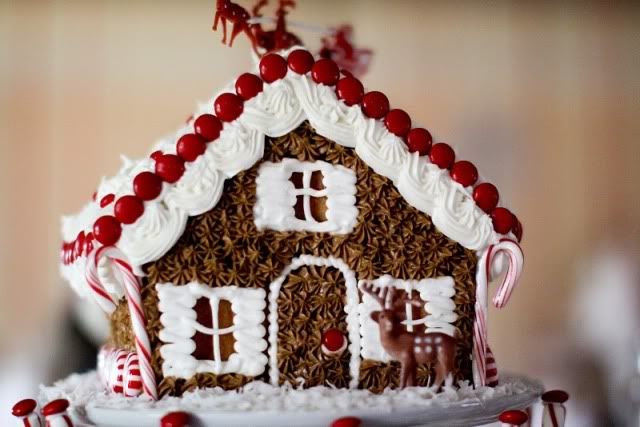
I would love to have something like this NORTH POLE GINGERBREAD HOUSE DECORATING PARTY created by Jenny of Jenny Cookies. It was featured on Kara's Party Ideas
I love the cupcakes with the peppermint sticks!
Photobucket
Photobucket


Photobucket

Photobucket

Photobucket

Photobucket

Photobucket


Photobucket

Photobucket

Photobucket

Photobucket

Photobucket

Tuesday, November 29, 2011

How to make a Balloon Topiary

This is too cute not to share! I found this at Catch my Party  These would be adorable on any dessert table or candy buffet :)


Supplies
  • One 6″ Terracotta pot or some other container
  • One Styrofoam block (cut to fit inside the container)
  • One 5″ Styrofoam ball
  • One 18″ wooden dowel (mine was longer and I had my husband cut it down to this size)
  • Two packs of greening pins. You really use about 1.5 packs but it’s better to have more and not need them than be short.
  • 2 packs of small (around 2.25″) multi colored balloons (around 72 qty)
  • 2 packs of larger (around 3″) multi colored balloons (around 72 qty)
  • 1 pack of pipe cleaners cut in half
  • 1 pack of shredded tissue paper
  • Pencil
Cut your styrofoam block to fit inside the terracotta pot. Slide the dowel through the block and then into the ball to form the topiary shape.


Next it’s time to add the balloons to the styrofoam ball. I tied one of the smaller balloons around the greening pin (yellow balloon) to help hide it. Behind the yellow balloon I placed one or two of the larger balloons. Push the greening pin into the ball. Do this over and over until the entire ball is covered in balloons.


To add extra texture cut the pipe cleaners in half. Wrap one end around the greening pin to hide the edge. Wrap the other end around a pencil or paintbrush. Pull the pipe cleaner off and stretch it out into the coil shape. Add these sparingly around the ball. You can also add balloons behind the pipe cleaner like in step 3. Continue covering the entire ball with balloons and pipe cleaners.


10. For added decoration tie some ribbon around the dowel at the base of the styrofoam ball.

11. To cover your styrofoam block add the shredded tissue on top of it and around the dowel.


12. Congratulations, you are done! These topiaries make great additions to any table because you can change them up by using different colored balloons to match a theme or holiday, paint the dowel and use interesting ribbons, or change up the containers. You can also just make the ball and hang them from a chandelier or the ceiling using coordinating ribbon. Have fun!

Friday, November 18, 2011

How to make Cupcake Toppers

I've spent years making cupcake toppers in any & every theme that you can think of. From Super Mario to Strawberry Shortcake. You name it, I've made it.

Here are some quick directions to help you make your own. Be sure to check out my Freebies page for Free printable images that you can use :)

Supplies :Scissors or Paper Punches
Cardstock
Photo paper or round label sheets
Hot Glue gun & glues sticks( you can use glue dots & other adhesives, but hot glue works better. JUST BE CAREFUL)
Lollipop stick or toothpick

Computer and printer

Instructions:


  • Find an image or images you would like for your cupcake toppers. Print them out onto photo paper or cardstock. I prefer photo paper. *You can also print your images onto round labels. If you use this method, you can skip the next step.


  • Punch out or cut out your images using scissors into whatever shape you would like. The most popular cupcake topper shapes are circles, scalloped, rectangle and square.


  • Select cardstock for your background and punch out or cut out that as well. *The background needs to be slightly larger than your image. So, if your image is 1.5", your background paper needs to be 2".


  • Attach a lollipop stick or  toothpick using glue to your cupcake topper. You can attach the stick to the back of the cardstock or in between the cardstock and image. It will be layered. SO you can't see the stick on the back


  • Optional: Embellish your paper cupcake toppers with ribbon, gems, die cuts shapes, cut outs, etc. Instead of two layers of matting, add 3 or more. You can even attach another image to the back of the topper to make them doublesided. The ideas are endless!


  • Here are some images of items I have made in the past


    Angry Birds


    Olivia
    Monster High
    Zebra Print

    Free Printable Cupcake Wrappers

    I stumbled upon this site a week or so ago. Free cupcake wrappers  It's so cool. You can create & print your own cupcake wrappers. They have lots to choose from. Including Zebra print :)
    You can personalize them for birthdays, showers, wedding, holidays, etc...

    Here are some pics of their work:


    There is a free trial available or you can buy a subscription & use the service forever. They give you lots of tips & tricks for printing. This is a great alternative to purchasing individual packages. Especially if you need alot.

    Sunday, November 13, 2011

    Dinosaur Train Birthday

    I don't have a little one anymore (he's TOO COOL now :( )BUT I know my son would of loved Dinosaur Train! The show is too cute & quickly is becoming a great party theme.

    I was asked to make cupcake toppers for a party

    Here is a link to a pdf. You can easily make party tags & cupcake toppers with them
    They are really easy to make.
    What you'll need:
    • 1.5" craft punch( round)
    • 2" craft punch (scalloped)
    • 4" lollipop sticks
    • hot glue gun
    • colored cardstock (Shown with lime, orange & teal)
    • printer
    • photopaper or cardstock( to print images on)

    How you do it:
    • Print the image sheet(link above) on either cardstock or photopaper( I like photopaper)
    • Cut out images with a 1.5" craft punch
    • Cut out 2" scalloped circles out of colored cardstocks
    • Use your hot glue gun to adhere lollipop stick to the colored cardstock background
    • Then place your 1.5:" round image on the lollipop stick

    Be sure to center the stick & the image. Lay flat to dry.

    You can easily change this to tags, confetti, or decorations by mounting the images directly to the scalloped backgrounds. Use a 1/8" hole punch if you'd like to use them as tags :)

    You can also get very reasonably priced Dinosaur train party supplies. There are plates, napkins, cups etc... Here are where I found the most reasonalble priced: Birthday in a Box


    These Tree decorations are so creative! I can't wait to find a reason to make these. You can use these palm trees for a luau or any summer time party. I may have to add these to my Flip Flop Party :)


    Here are the instructions that I found at Jenn Spends  Palm Tree decorations


    I fashioned palm trees from green balloons, green poster board and brown streamers. Two adorned the entryway, and four surrounded our round table. I used green streamers to connect the “trees” in the dining room and create a canopy effect. Unfortunately my photography skills aren’t up to par with my decorating skills and don’t do the overall experience justice. It was a really fun space to be in.
    I cut the poster board (purchased at a dollar store) into long triangular shapes. Depending on width, you can get between 3 to 5 sections from one sheet. I then used scissors to snip short slits along the edges to make the triangles look more like palm fronds. I overlapped the ends of each section and fastened together with masking tape. I then taped a green balloon to the underside, allowing the “branches” to droop down. The trees were taped to the ceiling with masking tape and brown streamers were fastened to the bottom of the balloon to create a trunk. If the branches are too droopy, you can use more tape to fasten them to the ceiling.